> ## Documentation Index
> Fetch the complete documentation index at: https://popup.apps.madvalley.com/docs/llms.txt
> Use this file to discover all available pages before exploring further.
# Onboarding
> Walk through the onboarding wizard after installing PopUp for the first time.
When you open PopUp for the first time, a three-step onboarding wizard walks you through everything you need before your first market day. It takes about 2 minutes.
***
## Step 1 — Choose your plan
The first screen shows what PopUp does and asks you to choose a plan.
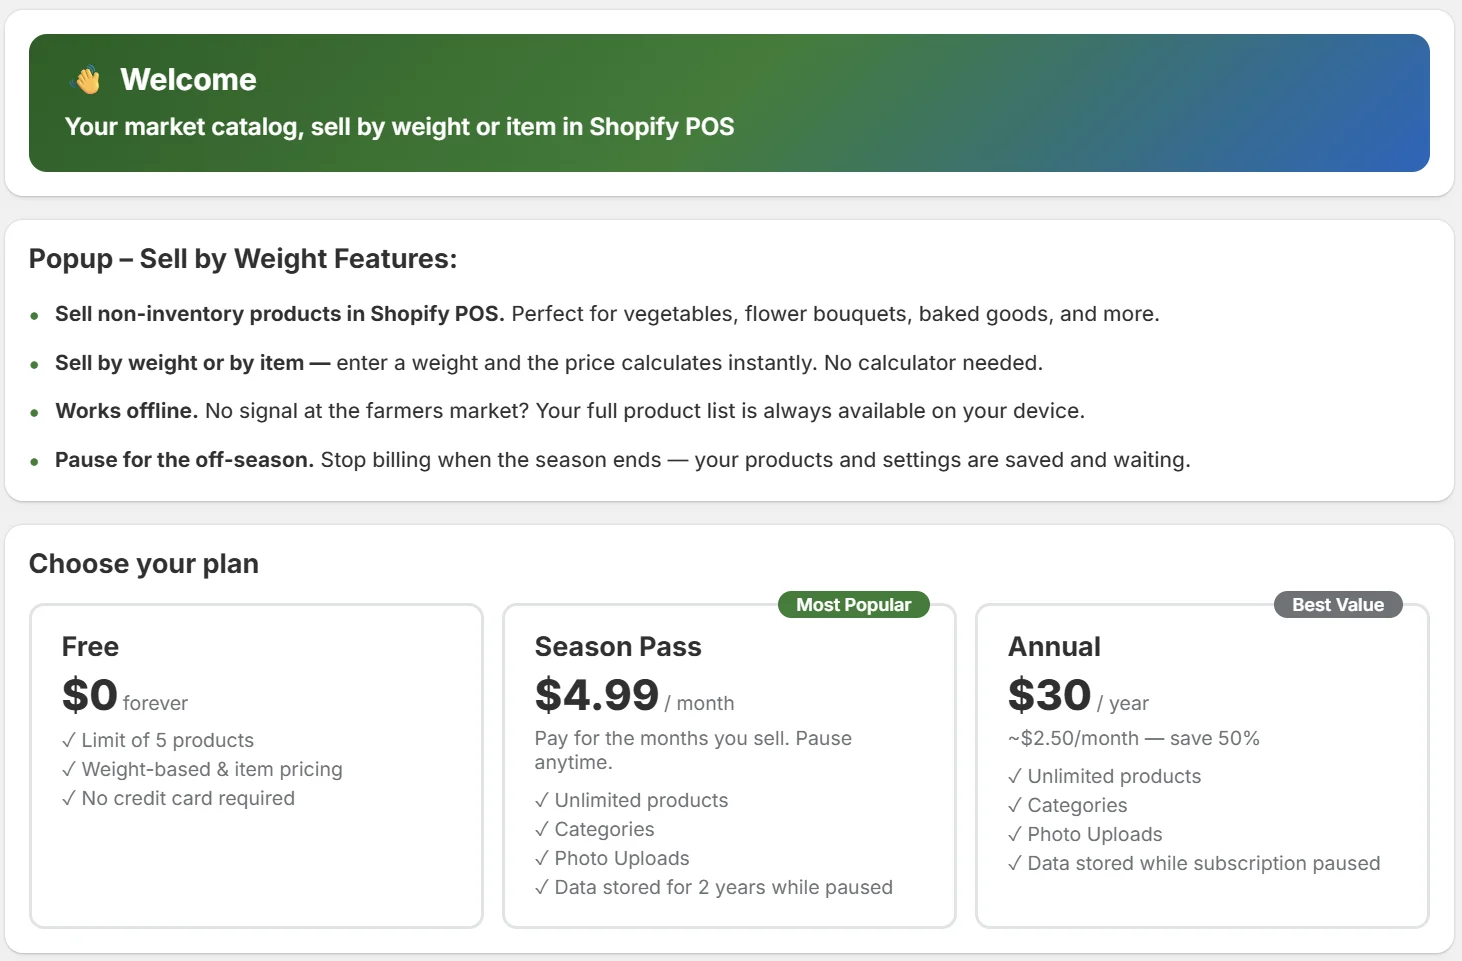 Review the features, then select a plan:
| Plan | Price | Best for |
| ----------- | -------------- | -------------------------------------------- |
| Free | \$0 | Just getting started — up to 5 products |
| Season Pass | \$4.99 / month | Seasonal sellers who want to pause in winter |
| Annual | \$30 / year | Year-round sellers — best value |
Select a plan card and tap **Save & Continue**. If you choose Season Pass or Annual, Shopify will ask you to approve the charge before continuing.
Not sure? Start on Free — you can upgrade anytime from the Subscription page.
***
## Step 2 — How it works
This screen gives you a quick overview of the two parts of PopUp.
### Setup (done in Shopify Admin)
1. Add the PopUp tile to your Shopify POS home screen — see [Installing](/docs/getting-started/installing)
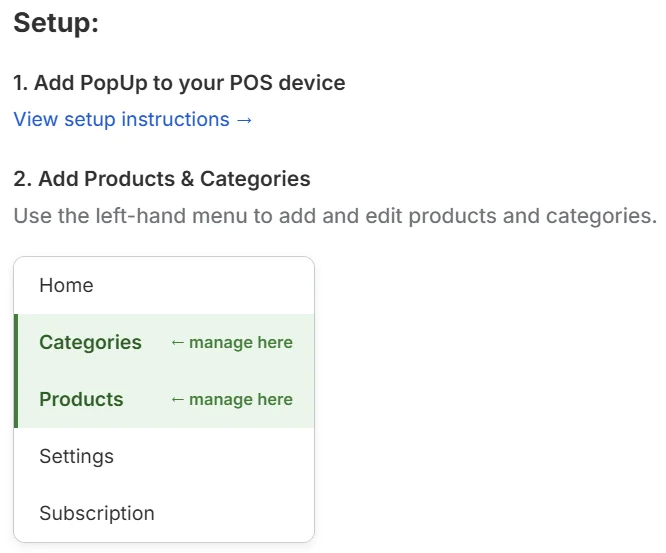
2. Add your products and categories using the left-hand menu in the PopUp Admin
Review the features, then select a plan:
| Plan | Price | Best for |
| ----------- | -------------- | -------------------------------------------- |
| Free | \$0 | Just getting started — up to 5 products |
| Season Pass | \$4.99 / month | Seasonal sellers who want to pause in winter |
| Annual | \$30 / year | Year-round sellers — best value |
Select a plan card and tap **Save & Continue**. If you choose Season Pass or Annual, Shopify will ask you to approve the charge before continuing.
Not sure? Start on Free — you can upgrade anytime from the Subscription page.
***
## Step 2 — How it works
This screen gives you a quick overview of the two parts of PopUp.
### Setup (done in Shopify Admin)
1. Add the PopUp tile to your Shopify POS home screen — see [Installing](/docs/getting-started/installing)
2. Add your products and categories using the left-hand menu in the PopUp Admin
 ### At market (done in Shopify POS on your phone)
 1. **Open PopUp** — tap the PopUp tile on your Shopify POS home screen
2. **Select a product and weigh it** — enter the weight and PopUp calculates the price
3. **Add to cart and check out** — the item is added to the Shopify POS cart
Tap **Next** when you're ready.
***
## Step 3 — Add your first product
Choose how you want to build your catalog:
1. **Open PopUp** — tap the PopUp tile on your Shopify POS home screen
2. **Select a product and weigh it** — enter the weight and PopUp calculates the price
3. **Add to cart and check out** — the item is added to the Shopify POS cart
Tap **Next** when you're ready.
***
## Step 3 — Add your first product
Choose how you want to build your catalog:
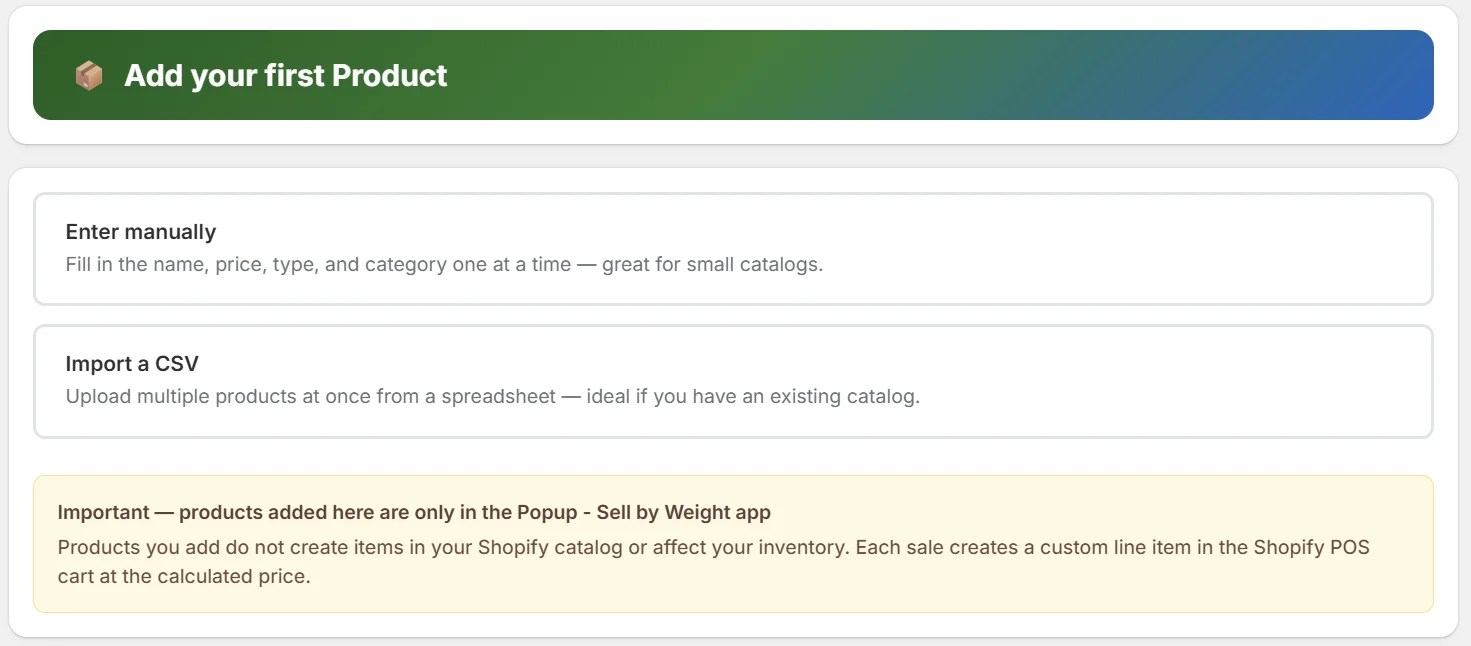 **Enter manually** — fill in the name, price, type, and category one product at a time. Good for small catalogs or if you're just getting started.
**Import a CSV** — upload a spreadsheet with multiple products at once. Good if you already have a product list somewhere.
Selecting either option completes the wizard and takes you straight to adding products.
Products you add in PopUp are separate from your Shopify product catalog. They don't affect your Shopify inventory. Each sale creates a custom line item in the Shopify POS cart at the calculated price.
***
## Next steps
Add weight and fixed-price products to your catalog
Organize products into groups for faster browsing
**Enter manually** — fill in the name, price, type, and category one product at a time. Good for small catalogs or if you're just getting started.
**Import a CSV** — upload a spreadsheet with multiple products at once. Good if you already have a product list somewhere.
Selecting either option completes the wizard and takes you straight to adding products.
Products you add in PopUp are separate from your Shopify product catalog. They don't affect your Shopify inventory. Each sale creates a custom line item in the Shopify POS cart at the calculated price.
***
## Next steps
Add weight and fixed-price products to your catalog
Organize products into groups for faster browsing